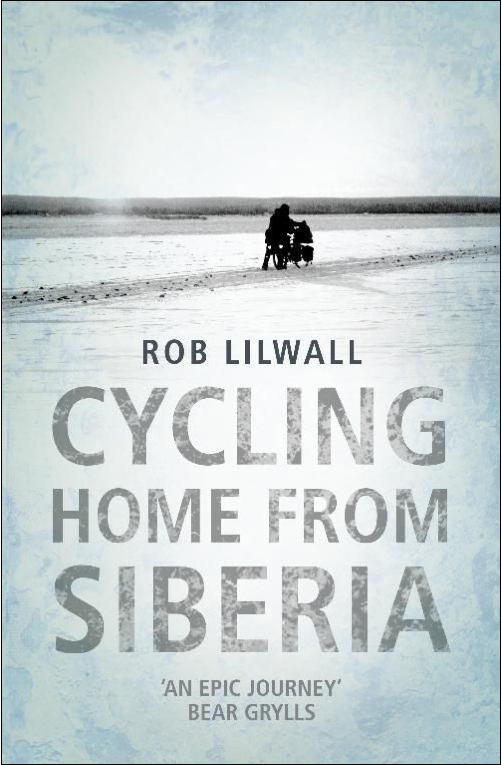
The fact that chapter 2 is entitled “How will I die?” gives you some clue as to the nature of the 3-year journey described by Rob Lilwall. It’s the story of a ride undertaken in the most extreme conditions, starting out in Siberia and riding in temperatures down to -40 degrees Centigrade.
Travel, tragedy, religion and romance…a good read
At times Lilwall really does seem to be an adventurer with a death wish. He not only cycles through the toughest of terrain in the most appalling weather imaginable but also rides through extremely dangerous regions of Afghanistan and sneaks past border guards in the dead of night because he doesn’t have the necessary documentation to cross the border in daylight. The author was only 27 years old when he set out in 2004 so perhaps held the common belief of youth that he would live forever, but he comes across as a rather anxious man that needs to prove something to himself, without knowing exactly what. I found the book to be compelling and read it every day until I reached the end. It is more than just a travel book, although it is fascinating as such. It has a smattering of human tragedy and romance too. Lilwall also writes at some length about his Christian faith. At the end of the trip he surmises, “I did not feel any sense of achievement, but rather a strange emptiness.” A strange comment perhaps, as he met his future wife during the journey. This is not a book about the joy of travel or the joy of cycling. It’s tone is very serious. “Cycling Home from Siberia” is nevertheless a very good read.
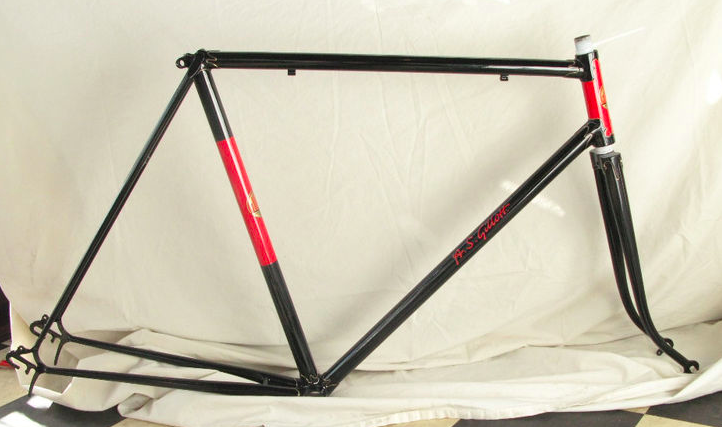
Last year I bought a restored A.S. Gillott frame from a dealer in South London. It has one or two very minor marks from where it was packed for delivery, but it’s pretty near perfect. A 1948 model, it may well have been built by Ron Cooper, who worked for Gillott, and I know that Ron was involved in its restoration, replacing one of the drop-outs.
The beautifully restored 1948 A.S. Gillott frame
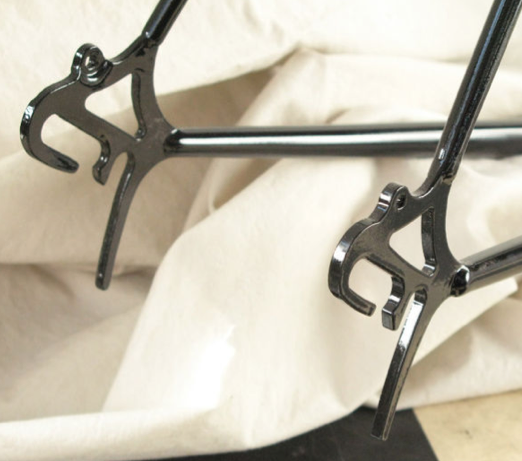
What I didn’t realise until the frame arrived was that the dropouts were designed for an Oscar Egg “Osgear” set up. It’s not possible to fit a conventional derailleur freewheel or cassette. I decided to make it a single-speed bike and found a nice pair of Charge track wheels, the rear one of which had a flip-flop hub, so I was able to build up the bike to be ridden either as a fixie or with a single-speed freewheel.
Oscar Egg dropouts are only suitable for Osgear, single-speed or hub gear set up
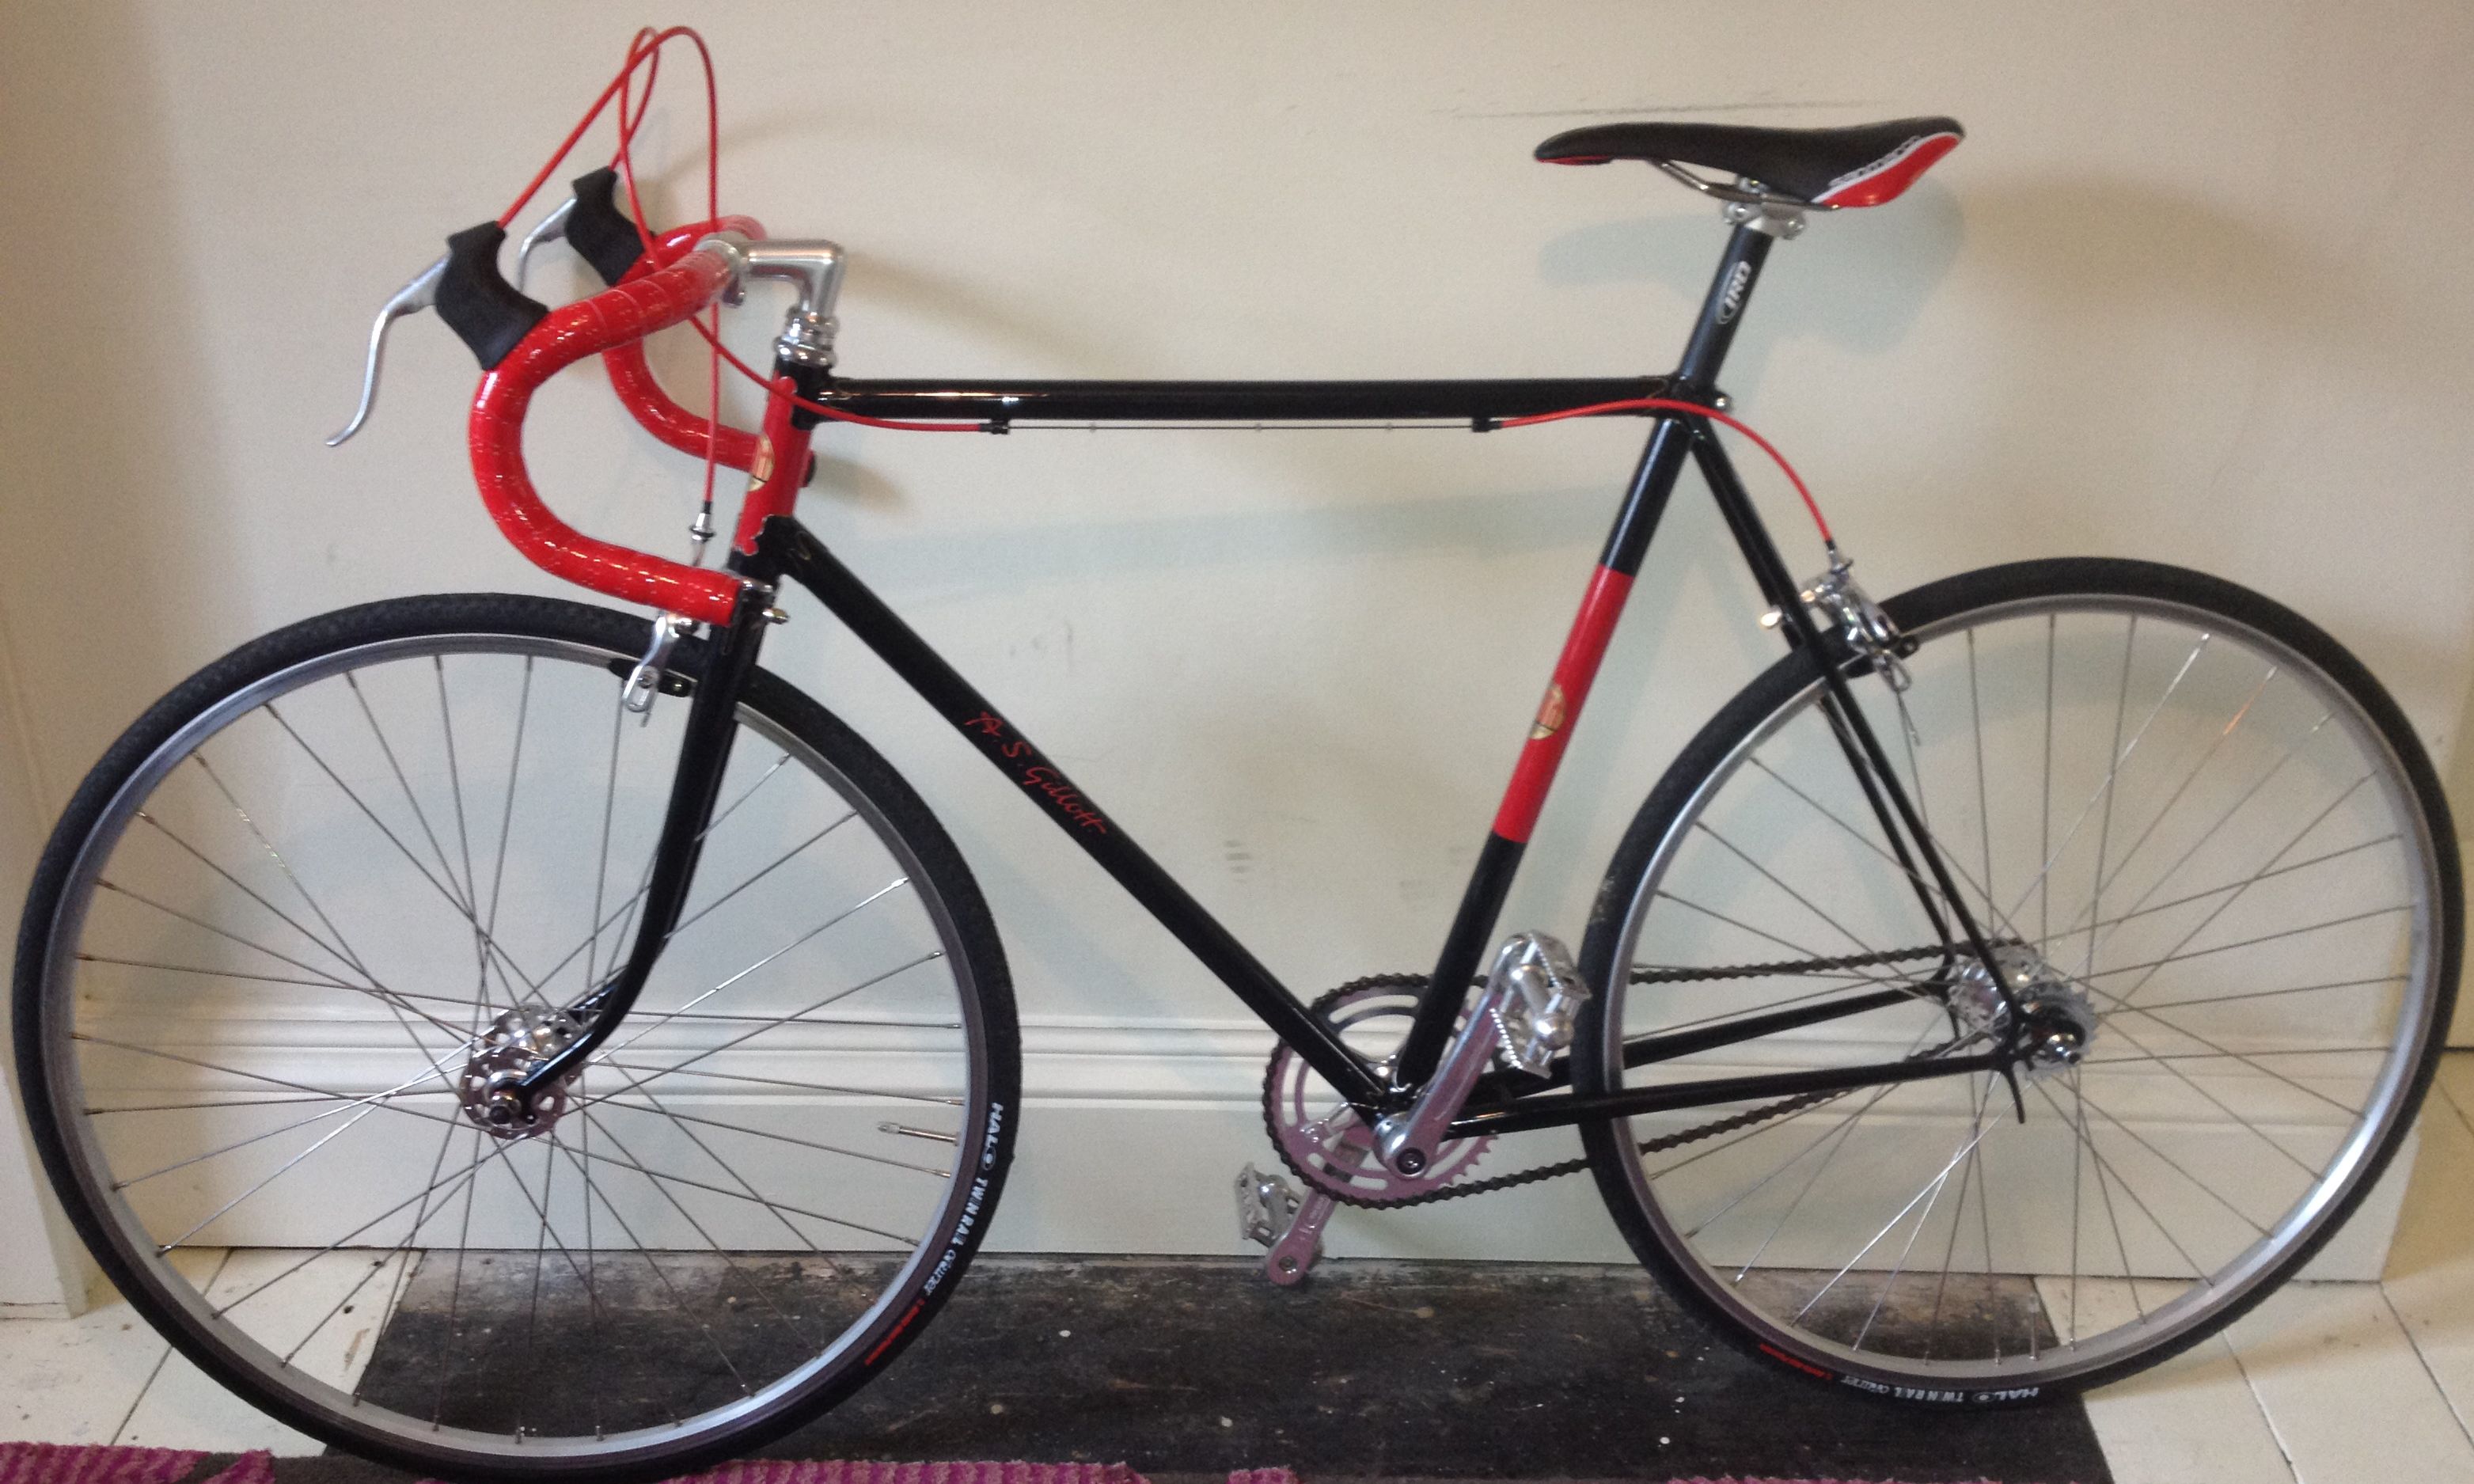
I decided that this was going to be my prettiest bike, so matched the brake and gear cables to the red of the decals and even bought a red and black saddle to complete the work of art. Looks lovely….rides like a shed on wheels!
I think the problem is partly the razor sharp saddle (back to a Brooks B17 any day now) but also the geometry of the bike. I haven’t measured it but the top tube seems particularly long. I feel like I’m stretching over the bike, even to ride on the tops of the Cinelli drop bars. And my feet feel as though they’re too far forward, wherever I position the saddle. It’s time to try a new set up – one that will make the bike as good to ride as it is to look at.
The Gillott frame with as a single-speed set up with flip flop hub. Very pretty, note the glossy bar tape, but strange to ride!
Having appreciated the joys of Sturmey Archer hub gears last year, when I road my Thanet Silverlight with a 1949 4-speed hub from Barcelona to Bristol without a hitch, and inspired by the sight of the restored Bob Jackson bike mentioned a couple of days ago, I’ve decided to rebuild the Gillott frame. Even though you have to stop pedalling for a second to change ratios with internal hub gears, each change is precise, silent and perfect – not like the rather crude process of dragging a chain across a bunch of sprockets to end up with yet another imperfect chainline. So the frame will be fitted with a Sturmey Archer S-RF5(W) 5-speed hub in the rear wheel (with a downtube shifter as a nod towards vintage styling), a B17 saddle and either a Mary bar or Mungo bar from On-One. The bars are on offer at the moment and are so cheap I decided to buy both and try them out. The Sturmey Archer was chosen because Shimano hubs and others aren’t suitable for the relatively narrow dropout spacing of vintage bikes (125mm OLD). This combination should give me a lot more flexibility in setting up the bike for greater comfort, and make it practical for commuting. I’ve bought a couple of 27 x 1 1/4 wheels, which is the size the frame was originally designed to accomodate, and I’ll rebuild the back one with the new hub – that was a cheaper option that buying a pair of rims, a front hub and all new spokes.
The bike in 5-speed form will appear here soon….if all goes well.
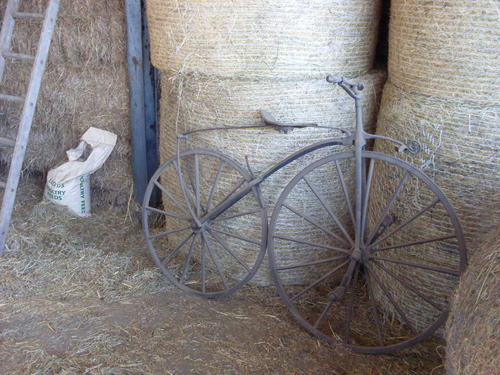
Advocates of fixies and other single-speed bicycles point to their glorious simplicity. No shifters, no derailleurs, no mysterious inner workings in hub gears. Sometimes, they don’t even fit brakes. But even the most stripped down fixie can’t match the sleek lines and minimal number of components of this wonderful machine, which was recently auctioned on eBay.
This Scottish-made velocipede would make an excellent winter trainer – there’s very little to go wrong
I can’t remember the name of the Scottish manufacturer but I believe the velocipede, draisine, or bone-shaker (a multiplicity of terms were used to describe these early bicycles) dates from around 1860. That’s well before the emergence of the car, and before speed limits of 4 miles per hour were imposed to protect pedestrians from the dangers of motorised transportation. Admire the sheer simplicity: 16 spokes per wheel, but no spoke nipples, hub bearings, inner tubes (with valves), tyres, or any of the other unnecessary extras found on the modern bicycle. By comparison, even the simplest fixie is a monumental piece of engineering complexity. Incidentally, the velocipede fetched £5400, a lot of money for a winter trainer, you might think. I wonder where you’d put the DI2 electronic shifters?
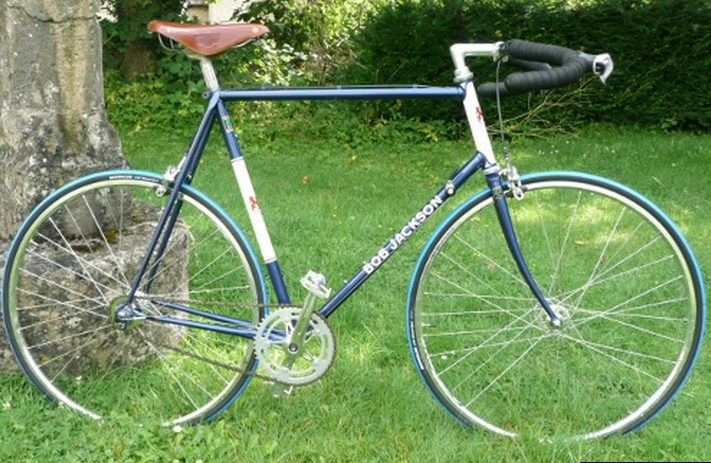
For a long time I’ve seen wheelbuilding as a bit of black art, and it’s a view shared by quite a few other cyclists I know. I’ve always wanted to acquire the skill, not least because it will enable me to build custom wheels for some of my projects. For example, having recently spotted a great looking Bob Jackson restoration on the Spindles and Sprockets community project website, I decided that a 5-speed Sturmey Archer hub on a 27-inch wheel would be ideal for my restored 1948 A.S. Gillott frame.
The “Sprockets and Spindles” community bike project in Corsham, Wiltshire, made a great job of restoring this Bob Jackson frame, which was rescued from a skip. It uses a Sturmey Archer 5-speed hub and has beautifully clean lines.
But you can’t buy one off-the-shelf so I concluded that I would prefer to build the wheel, rather than keep running back and forth to my local bike shop and paying £40 labour, plus parts, to have one made up.
I’ve considered going on courses; they seem to run for anything from one to three days. Surely anything that can be learnt, if not mastered, in such a short time cannot be that hard to teach yourself? So, having looked at several YouTube videos, read Sheldon Brown’s advice and then discovered “The Professional Guide to Wheelbuilding”, reviewed in yesterday’s post, I set about building my first wheel. Spoke lengths were calculated using this online tool. I made up a nipple driver from a piece of 6mm diameter aluminium rod that was lying around in the garage. (The book suggests bending and filing a screwdriver but mine is simpler and works perfectly well.)
I then started the project with an old, cleaned-up Campag Record hub and a vintage Mavic rim. This was my first mistake – ignoring the advice in the book that it’s best to start with a new rim because then you know there are no problems with it. I built up the wheel with the correct length spokes, tightened the spokes as instructed, popped the wheel into the truing stand and it wobbled like a very, very wobbly thing. In all directions. I stripped it down again. The rim was far from flat and circular.
I didn’t have a spare rim but I did have a new Weinmann XR18 rim on a wheel with a pretty rough hub, the roughness caused by an earlier unsuccessful experiment in swapping axles. I stripped down the wheel to harvest the rim. Here’s another really valuable piece of advice from the book – don’t believe all the published measurements for wheel components, particularly the effective rim diameter (ERD) of rims, which is a critical measurement for calculating spoke length. I found an online reference to the XR18 having a 615mm ERD, then measured it as 610mm, using a simple homemade tool, described in the book.
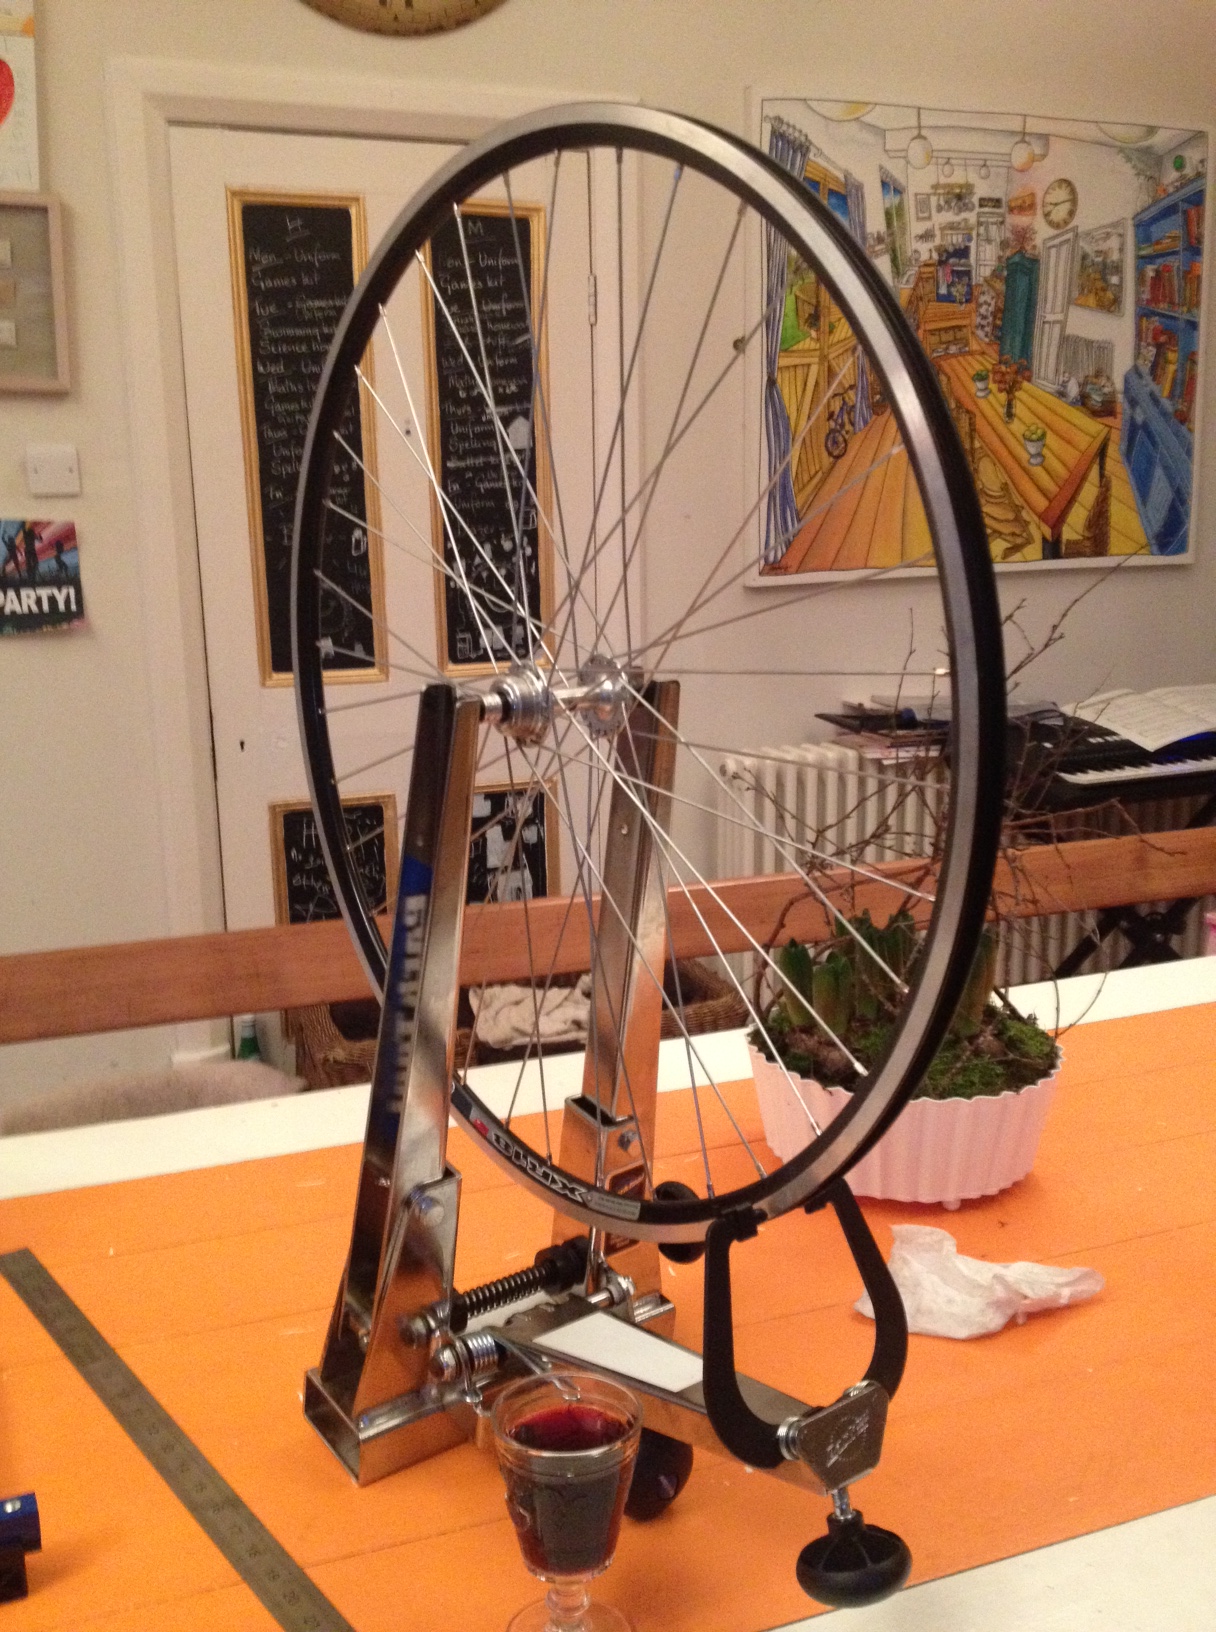
My first completed wheel build, complete with self-congratulatory glass of Bordeaux!
There is accurate online information on this too, but if I’d believed the first reference I found, I would have started building the wheel with spokes that were too long. Despite being a bit weary after my initial efforts on Saturday evening, I started building the wheel with the Weinmann rim. As I came to insert the last spoke into the rim, I realised there was no hole positioned to receive it. Somewhere along the way I had gone wrong, and I still don’t know where. Another lesson learned: don’t try to build a wheel when you’re tired – you’ll probably rush it and screw up.
The following morning, I took the wheel apart then, after about an hour, I had it re-laced and the spokes tightened evenly. It took another hour to get the wheel into its final shape, proving that building your first wheel is not rocket science, or a mysterious black art, but you do have to be methodical and patient – a bit like basket weaving, I guess. I’m looking forward to starting on the next one.
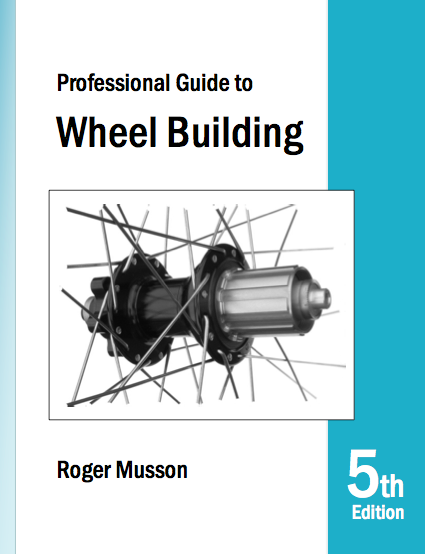
I mentioned in an earlier post that I had reservations about buying a book written by an author who describes himself as “one of the most respected professional wheelbuilders.” I went ahead anyway, downloading the £9 PDF version of “The Professional Guide to Wheelbuilding” by Roger Musson. And despite the confident-verging-on-arrogant tone in some places, this is a superb book for the novice wheelbuilder (i.e. me) and probably a very useful one for those more experienced in the craft.
A superb book for the novice wheel builder
Roger Musson doesn’t just describe how to build wheels but also gives detailed instruction for making most of the tools that you need for the task. I’m not sure I would have built his wheel truing stand. The potential for swearing due to my limited DIY skills probably made purchasing a ready-made one the right decision. But I would have made the dishing tool (saving £40) – that looks very simple, and I did make a rather simpler version of the nipple driver described in the book.
This really is a detailed guide that takes you through the process from start to finish. If you have computer or iPad, I’d recommend the PDF version over the printed page. The PDF is quite high resolution, which means that you can zoom into the diagrams without losing details – something that very useful in some places. If you prefer paper, you can always print the pages that are most useful. The book is not only supremely practical, it also does into the theory of calculating spoke lengths and the author has a very good, simple tool for this on his web site. Amongst the very useful tips is to measure everything and not take the manufacturer’s data, or any other published information, as being accurate when you start to build a wheel. As I built my first wheel this weekend, that advice was invaluable. Highly recommended.
As I’ve come to understand more about bikes over the last few years, I’ve learned a few things, usually the hard way. I found out that vintage bikes are fantastic value for money and really not that much different to ride than modern ones, especially if you get one with a good Reynolds 531 or Columbus SL steel frame. Whilst riding L’Eroica last year I cycled alongside one guy who had rescued his bike from a skip and another who’d bought his for £10 on eBay. It’s always possible to find a very respectable, sometimes vintage, 1970s, 80s or 90s bicycle online for £100 to £200, often less, and these bicycles will never depreciate. Pay that kind of money for a new bike and you have something that will not only be heavy and horrible to ride, but that will depreciate to almost nothing within a year. As I’ve come to know more about bikes, I’ve moved from maintaining them to building them.
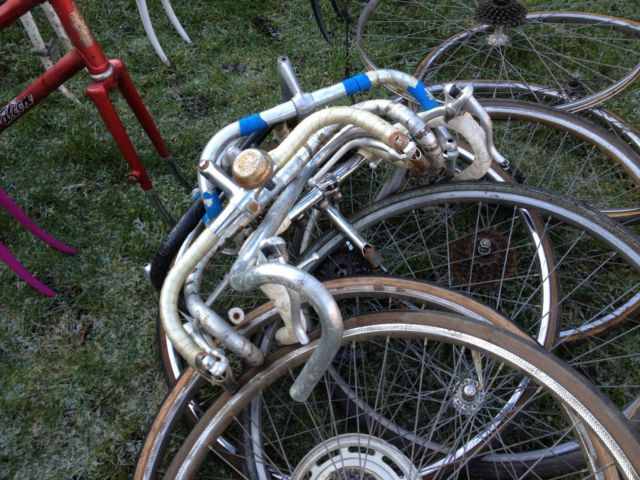
If you do by a bike just to get a pair of wheels, there’s always the temptation to start hoarding parts for future projects.
I like nothing better than to get hold of nice old frame then search out the parts to make up a new-old bike to add to my collection. But here’s an expensive lesson. If you buy individual components, even second hand ones, you end up paying a lot of money for the bike – far more than it’s worth after it’s been lovingly assembled. Fortunately, the solution is pretty simple. When you want a pair of wheels, or other parts for that matter, buy a complete bike. Strip it down for the parts you need then sell the remaining ones individually. That way, you’ll get the wheels free, and perhaps make a profit. Of course, the temptation is then to hang onto the frame and other parts of the second bike, and start going through the process all over again. It’s probably safest to buy a bike that you don’t like.
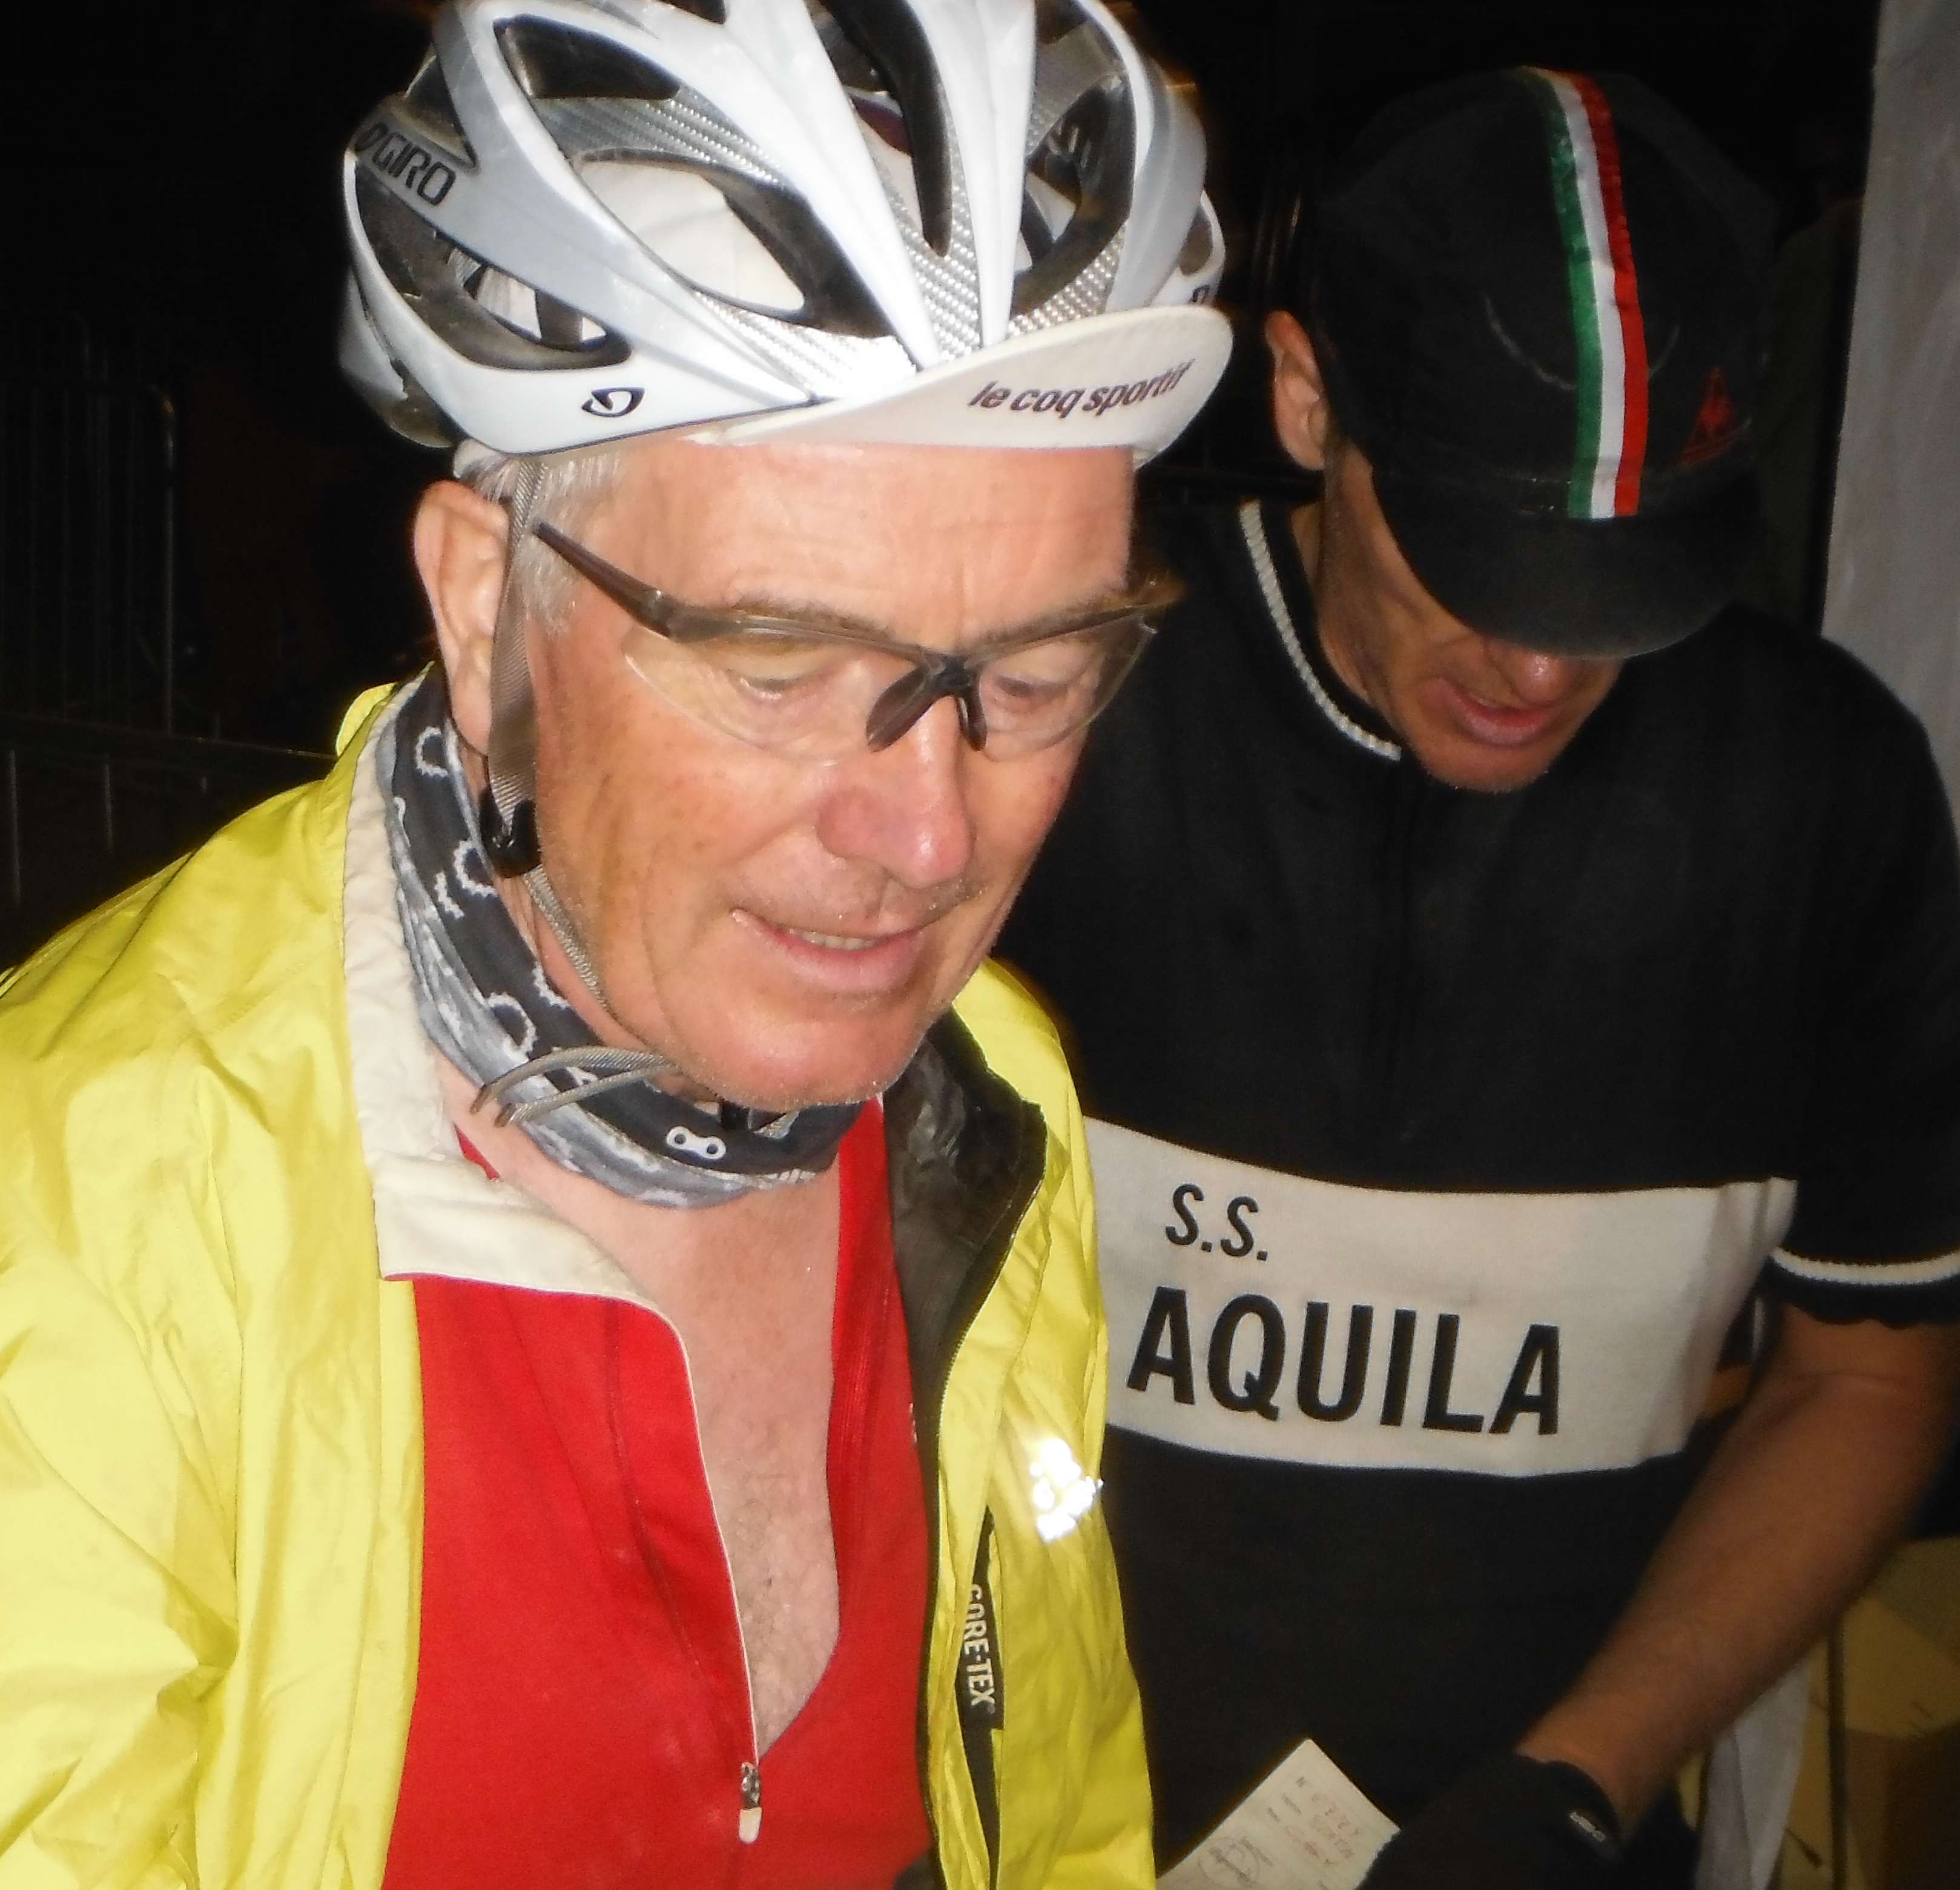
The timing of applications and entry rules for one of Europe’s classic and most popular cycling events, L’Eroica, have changed this year. Instead of applications opening during March on a first-come, first-served basis, the applications open on January 21st and initially close on March 3rd when a draw will be held to select participants for this year’s vintage bike extravaganza. It takes place in Tuscany, Italy, over the weekend of 5th and 6th October, the rides being on the 6th. It’s a phenomenal event and I’ll be heading over for the 75km ride this year, having staggered around the 205km one in 2012.
I arrive relieved and exhausted at the end of the L’Eroica 205km ride in 2012. Gary Smith from Yorkshire in the background checking he has all the stamps on his card. Thanks to Gary’s brother for the photo – not at my best!
It’s really not worth taking on the challenges of the long rides unless you want to prove something to yourself (or others) because the shorter rides leave you with a lot more time to soak up the atmosphere and go shopping for bikes and bits. You can download this year’s rules here. The notable exceptions to the entry draw are that anyone over 60 is guaranteed a place, as are “women of any age”. Sounds like a Silvio Berlusconi party!
Check out some of the videos on YouTube to get an idea of the charisma and charm of this event – there really is nothing else like it.
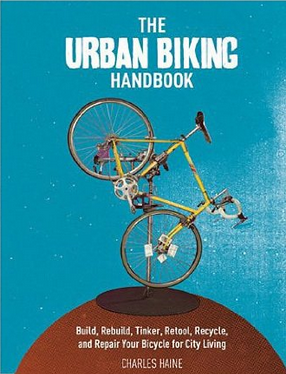
One of the most comprehensive books on bikes and city cycling
This US book, subtitled “The DIY Guide to Building, Rebuilding, Tinkering with, and Repairing Your Bicycle for City Living” (perhaps a record length for a subtitle?) is the most comprehensive I’ve read on the subject. If you’re an experienced cyclist the first few chapters are going to seem very basic and mundane as they carefully describe the different types of bicycle, where they came from and what’s suitable for what. All but the most knowledgable of us will find something new here though in a book that’s as clearly and simply written as it is informative. With chapters that cover choosing your bike, city riding, cycling attire, bicycle customisation and even how to go on a cycling date or holiday, it’s the most comprehensive book I’ve found that’s entirely dedicated to bikes and cycling. It will be particularly useful to those who want to encourage friends or family to take up cycling because it provides a gentle introduction to the subject and explains any cycling jargon as it goes along. Easy to read and a mine of information. Even at a rather pricey £9.78 for the Kindle edition, I recommend it.
Having spotted this recent piece on road.cc about a Brighton cyclist fined for cycling against the traffic in a one way street, my memory was triggered about a Department for Transport trial scheme in London to permit cyclists to do exactly that. I dug around a little.
The first story I found was a 2009 one in the Daily Mail announcing the trial scheme, and pointing out that the Prime Minister, David Cameron, had recently been caught cycling the wrong way along a one-way street. The goal of the trial was to encourage more cycling by enabling cyclists to use the most direct routes to their destinations. The Daily Mail has a poll on the online story, the results of which can be interpreted as disappointing, with 84% of respondents stating the cyclists should not be allowed to cycle against the traffic. Of course, at least 84% of respondents are likely to be motorists who don’t cycle, so I think we can safely dismiss that bit of nonsense as not being relevant to the issue.
I couldn’t navigate my way through the DfT website to get an update on the trial but this blog story from BikeMinded last September warmed my heart because it’s clear that London is opening more and more of its streets to cyclists.
More London one-way streets are allowing cyclists to ride against the flow of traffic. When done responsibly, perhaps this is safer than having cars and trucks come up behind you?
Brighton on the other hand remains in the cycling Dark Ages. Reportedly, Brighton police officer Elaine Welsh, said: “Cyclists travelling the wrong way in St James’s Street is the biggest complaint from local residents and business owners and can end in serious injury for both pedestrians and cyclists. We will be actively looking for those caught ignoring the one-way signs and issuing them with on the spot fines. I am pleased that Blaison’s (the offender) appeals were dismissed as he refused point blank to accept responsibility for his actions or almost hitting the pedestrian.”
Two things struck me about PC Welsh’s comments. First, her claim that cycling the wrong way along St James’s Street can end in serious injury for both pedestrians and cyclists is a statement of the blindingly obvious. Cycling anywhere there are pedestrians can do that. It doesn’t necessarily follow that cycling against the traffic along a one-way street is more dangerous than cycling along any other city street. Second, she felt that the cyclist should have accepted more responsibility for “almost hitting a pedestrian.” On that basis, shouldn’t we be able to prosecute all of the motorist that almost hit cyclists, or all the pedestrians who, on my commute into Bath, almost topple me from my bike by walking into the road without looking? If almost causing an accident is an offence, I’m sure Brighton’s streets could keep PC Welsh very busy indeed. She could probably notch up enough prosecutions to get promoted…so this could be just the thin end of the wedge.
The London experiment has shown conclusively that it is possible for cyclists to use one-way streets in both directions without increased risk to themselves or other road users, or pedestrians. It’s standard practice throughout most of Europe and expansion of such schemes in the UK has been encouraged by the CTC for many years. The most important thing is to ensure that we cycle responsibly and safely. At least when we’re riding against the traffic, we get the opportunity to look motorists in the eye, and to see where they’re looking as the come towards us. I think it’s time for a call to Bath City Council to see what they have to say on the matter…
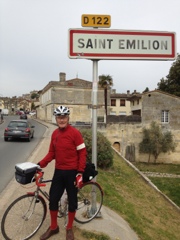
Lycra has its upsides – it dries fast after a shower, it reduces your wind resistance and it shows off your figure. But having seen a few thousand cyclists at various events this year, its clear to me that not all figures are ideally suited to lycra. In fact, I’m on a bit of a mission to get everyone over 40 out of lycra, so to speak. The problem for the mature road cyclist is that there isn’t that much choice, at least in terms of dedicated cycling trousers, if you don’t want to wear lycra or the ridiculous baggies worn (inexplicably) by mountain bikers. But I have found one supplier of cycling clothes, some of which I’ve come to really like.
Let’s put this into perspective. First, my idea of a designer brand has always been M&S. In fact, I’d struggle to name more than a couple of designer clothes brands, assuming that there are more than two. Second, I have no commercial connection with the company and it’s apparent that its clothes are designed for a younger generation, but some Rapha stuff is terrific. My favourites are the 3/4 trousers, reminiscent of plus-fours but tailored for cycling with a lower front and higher back, and Rapha denim jeans, which seem to be a perfect fit for me. Also, I recently bought one of the company’s inappropriately named ‘hardshell’ winter jackets – great fit, warm and waterproof – and nothing ‘hard’ about it at all.
Me modelling a lycra alternative – Rapha tailored plus fours and waterproof jacket. A new career beckons….
Rapha gear is not all good. I tried the padded undershorts and they gave me serious thigh chaffing due to the poor placement of the pad stitching, so I returned them. But when riding a Brooks B17 saddle, which I do most of the time, I find I don’t need undershorts if I wear decent cycling trousers. (I’ve never understood why a saddle, or a Hercules aircraft, would be called a B17?) The other product that I’ve found to be completely useless is the Rapha’s fingerless leather gloves. In the winter it’s too cold to wear them and when you get sweaty hands in the summer, they just stick to you in a very uncomfortable way. And beware, the sizing is a bit on the Italian side – I’m about 77kg and 5 ft 11″ but need a large size. No wonder all their SALE items are small.
Like a lot of people involved in marketing, I am of course totally immune to the wiles of advertising and brand promotion in general. But for the most part Rapha has won me over, despite one cycling friend of mine dismissing it as “over-priced crap”.